Brakes, electrical cut off and extinguisher handle
- Details
- Hits: 8089
After a bit of a lull, I bought some new calipers and brake discs for the front, to go with the Goodridge hoses which I can finally now install.
As a side note, I did try and rebuild my existing calipers. First job was to tidy them up as they were quite rusty. After some effort with a wire brush, they looked too far gone. Then I found a handy way of de-rusting metal effort free, using the old car battery, a mixing bowl, some water and washing up powder! Basically, electrolysis. After several days and nights leaving it on, changing out the orange water, not only did I find this was a great method, but also my calipers were so far gone one of the bolt holes as disintegrating. Oh well! So off to euro car parts I went....
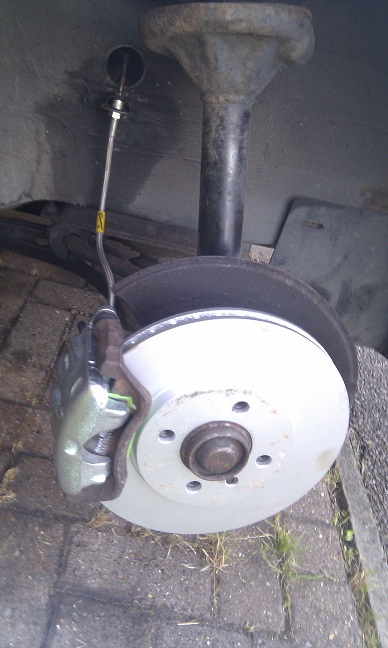
So now everything is tip top, giving me much more confidence. I also bought some one man operated speed bleeder nipples from this guy - the correct size was M7 in case anyone orders the wrong size like I did initially! He refunded and was quick to dispatch. They seem to work well, though I either need to buy two more for the rears or just get a tool which might be better in the olong run.
By the way, an important top tip is you either have Girling calipers or ATE (shown below):
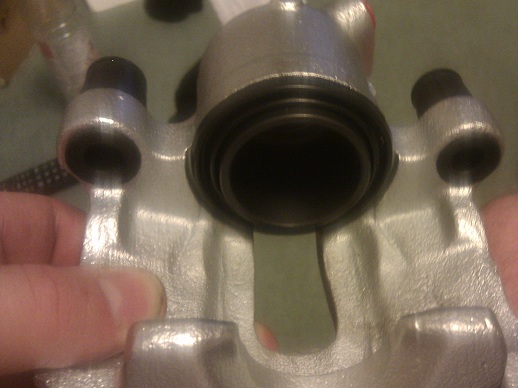
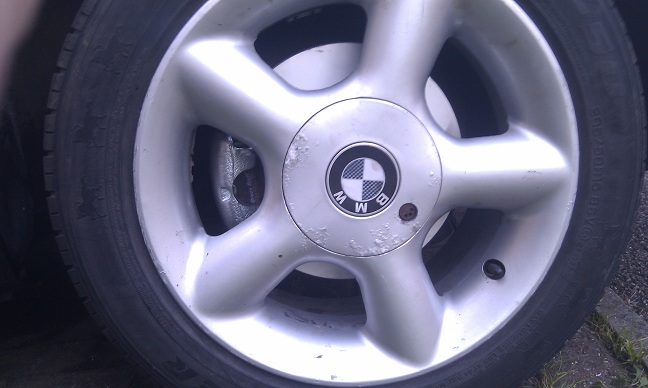
These don't fit unless you have the correct caliper carriers! Cheers to Eurocarparts and my contact there for quickly realising the issue and rectifying. Bought 4 wheels too with decent road tyres:
Now we get to some cooler stuff... for a while I've been working on the mandatory Marshall operated cut off and fire extinguisher, and they are finally finished!
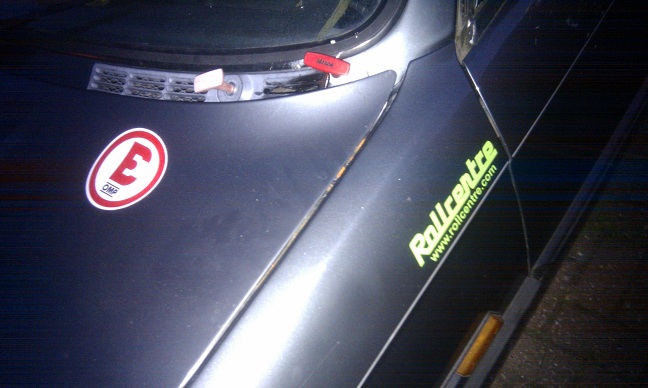
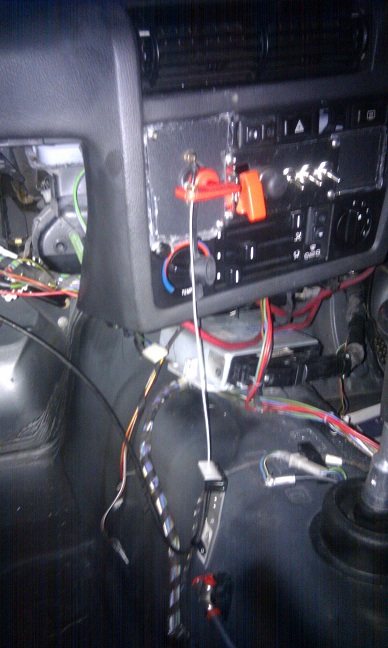
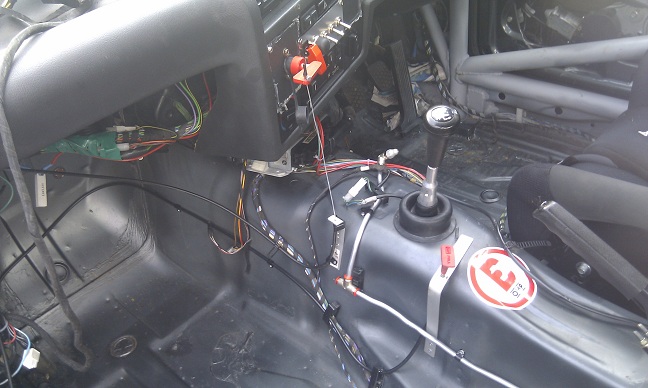
I was working into the wee small hours, and I'm chuffed with the results. Hopefuly it all passes from a safety point of view. My only concern is the extinguisher handle is quite stiff to pull, and this is mostly caused by the curve in the line as the cable goes round the bottle to the handle - something that can't be avoided. I don't want to pull it too hard to test for obvious reasons!
Bonnet aerocatches, brakes, grill and fog blanks
- Details
- Hits: 7125
So quite a lot of little jobs this month... May into early June anyway.Here's a summary.
Firstly the aerocatches, at about £40. I "installed" the first a while back, but was so horrified by my appalling rushed work I left just the one in for a while. I learnt how not to do things and some top tips (especially don't rush). Below is the result...
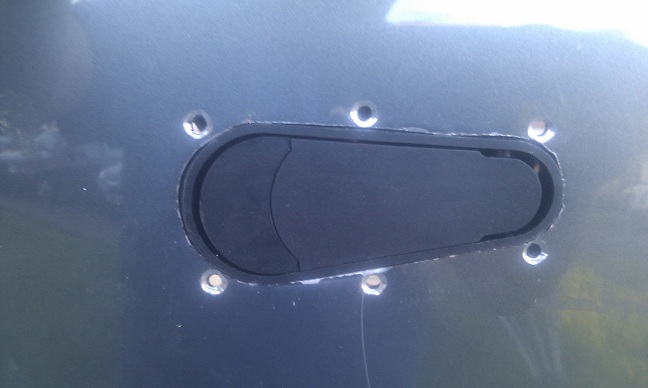
This is the second catch offered up to the bonnet with the holes drilled. Reasonabley tidy (compared to the first attempt). It's a good idea to take a large drill bit to the holes just for a bit, to allow the supplied screwed to counter sink in, if that's even the right phrase! Also, I've since sprayed the body colour paint lightly over the bare metal, then a small coat of lacquer. Otherwise it rusts. With the catch test fitted first, and the horror show of my first attempt (with silly amounts of hammerite painted over) second:
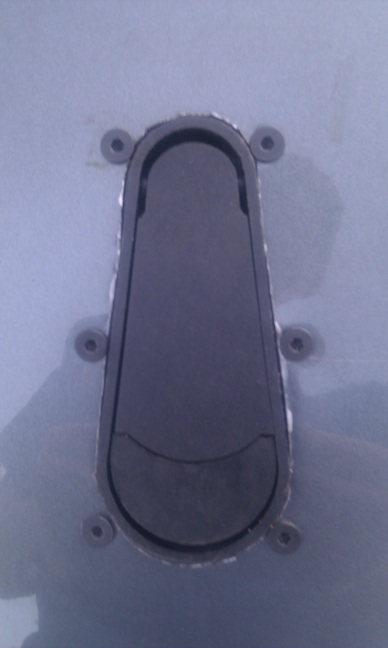
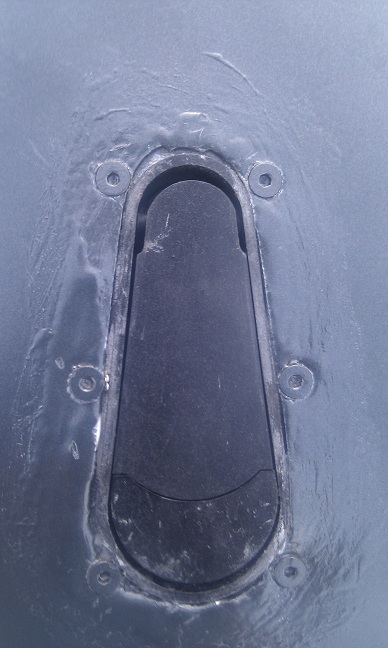
Anyway, that's enough of that embaressment! Next some limited brake work:
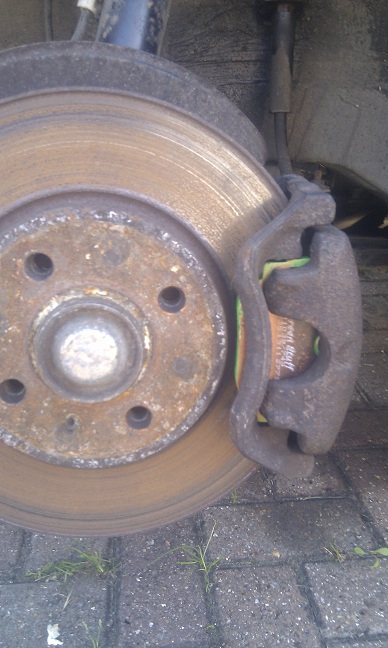
Frankly I was bored and I thought to free up some space the EBC green pads I bought may as well go on while I wait for the rest of the stuff. Those calipers don't seem as bad as they look, but will be reconditioned as you can get the kits for them. The discs will be swapped as they are pretty poor - you can see the lip on the outside. The orange stuff you can see on the pads is copper grease spray, recommended to prevent squeaking.
And now for a bit of tidying up:
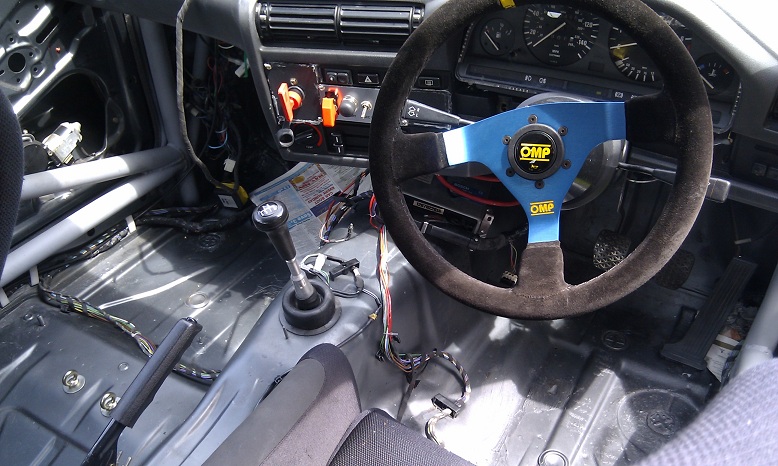
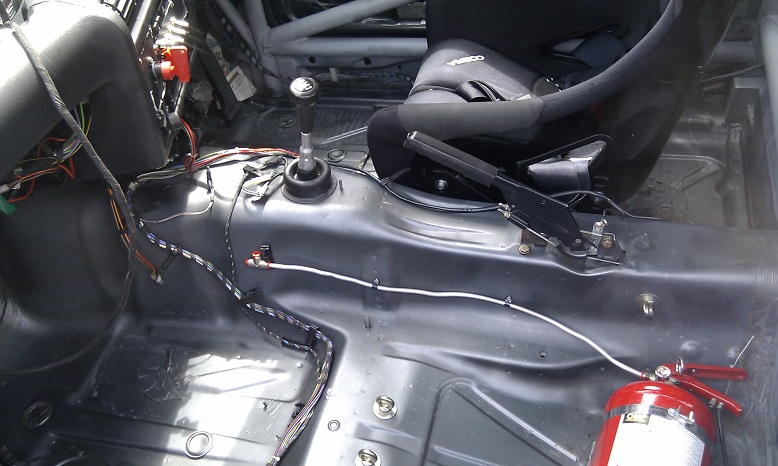
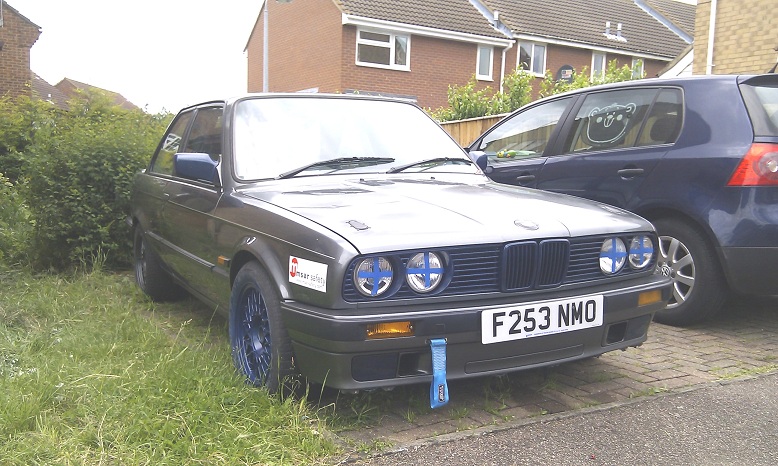
So it's starting to look a bit more presentable. I bought some second hand fog blanks, painted them blue to go with the blue painted grill and kidneys. I've also cleaned the inside with a bit more spirits and gone over lightly with more grey spray paint, and had my first play with a rivet gun (splendid tool!) to fix the fire extinguisher piping in place.
Next job is to properly fix and route the safety pull cables. So far just the external fire ex is properly in. After that, the jobs get very expensive as I'll have to spend scary money once again for the remaining brakes parts, suspension bushes, suspension, racing tyres and transponder. The good news is though, after those bits are on, it's finished! Light at the end of the tunnel and all that...
Refitting dashboard
- Details
- Hits: 7923
Right, I was meant to have posted lots of exciting blogs, all about new aero catches, fitting the dash back together, plumbing in the extinguisher, all jolly exciting stuff. The upsetting truth is, after some recent experiences I've seriously considered if I should be carrying on with this car, so not exactly great for my optimism! I think a toddler could have done a better job of the bonnet catches, and some bits of dash I've taken out seem to have lots vital bits of plastic in their bid for freedom. Anyway, bodged heater matrix switches and badly butchered bonnets aside, this is what I have been having 'relative' success with.
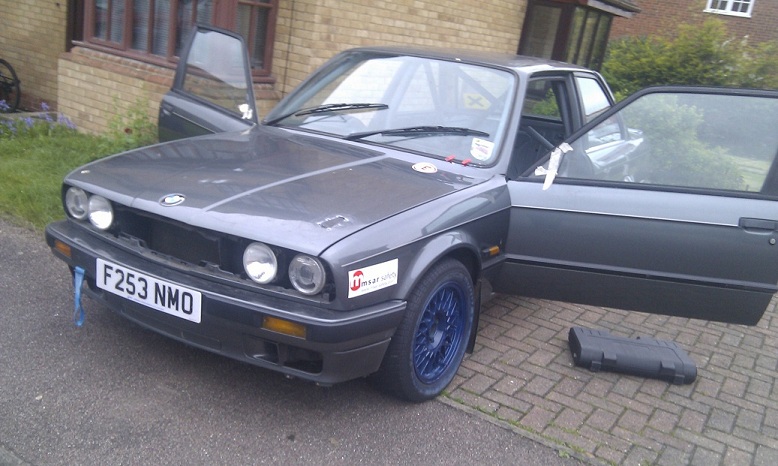
Tow strap and two pull handles set up, and one badly installed aerocatch. Mirrors are in the paint shop (kitchen) for painting blue with the left over paint for the wheels. Turns out I need some more so the grill is going blue too.
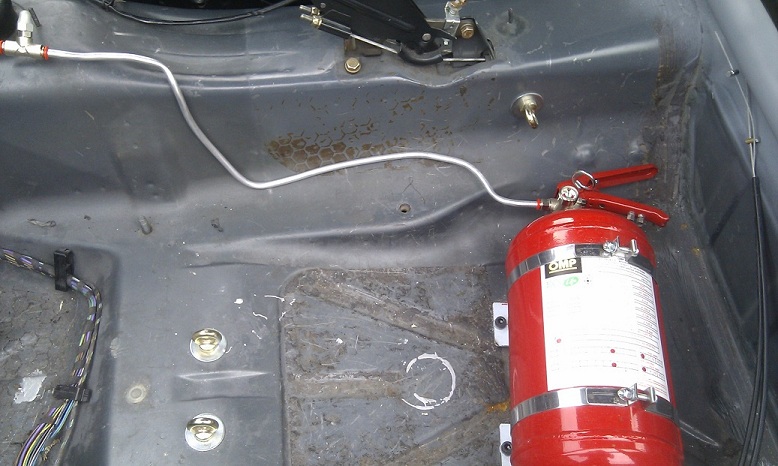
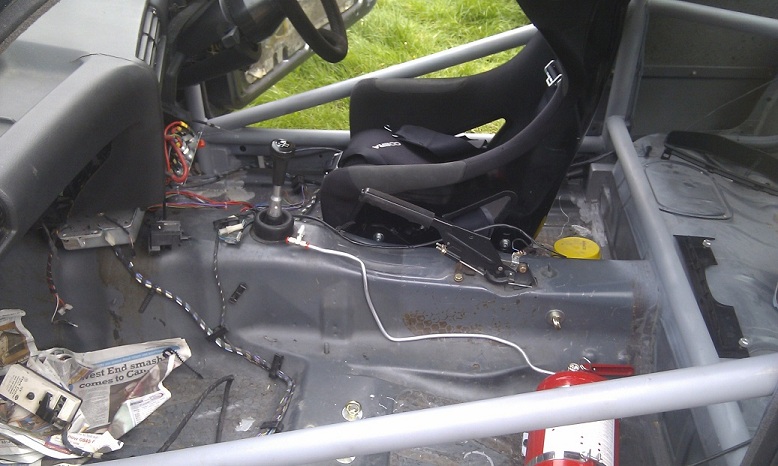
The piping so far points a nozzle at me and will then carry on through the bulkhead into the engine bay. The last bend looks a bit more severe than it is, but it has made me wonder what's an acceptable bend. The only way to know for sure is to pull the handle surely? I'd like to know all works ok, but anyway. Not sure how I'll bolt the tubing down either - I dont think I'll be putting nuts through the transmission tunnel. I'll have to ask about that one.
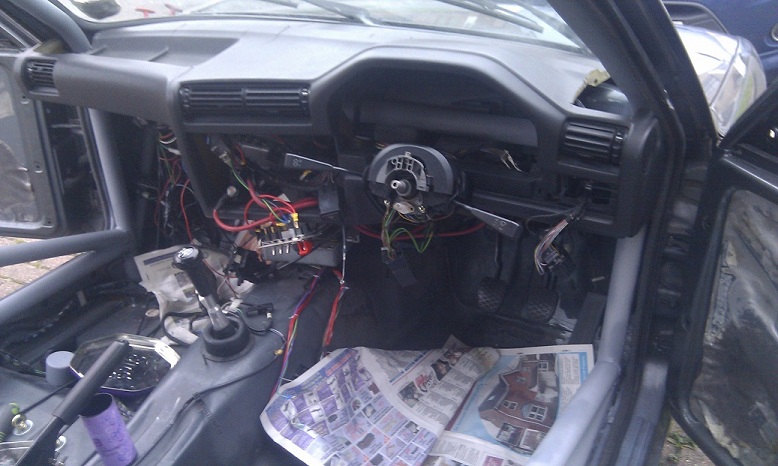
Nothing too dramatic here. Just a horizontal dashbar that the cage fitters insisted on - even though "it's my call as it's my safety they're trying to protect". I got round the windscreen vents issue, sort of. Now the dash clocks won't fit. Bugger.
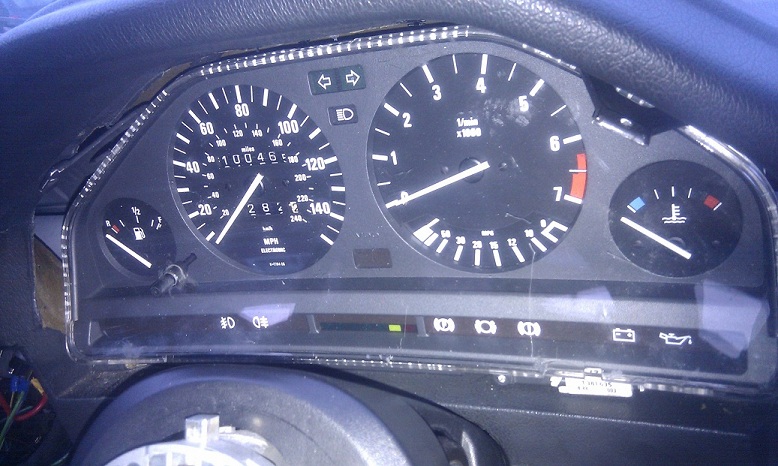
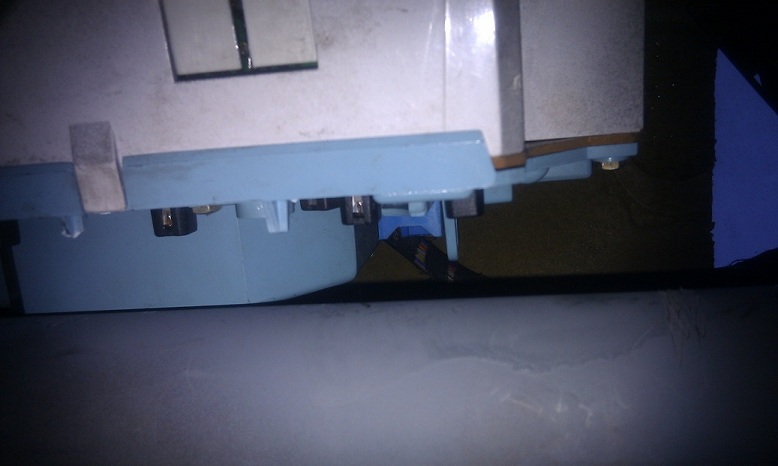
So, I'll be after advice on this too. Very annoying. Oh, and if anyone asks, I definately didn't drop a screw in the heater matrix, just to clear that up. Hence a lot of frustration recently. Is this normal?
